PostgreSQL, also referred to as Postgres is an open source relational database management system. It is widely used for web development, data analysis, and business intelligence. It’s popular not only it’s fully open source, but also its high level of compliance with the SQL standard and inclusion of additional features that simplify working with complex datasets at scale that supports SQL-based engine and other query languages.
In the past, to work with PostgreSQL, we had to do a verbose installation setup physically on our local machine that require a lot of configuration and resource. In this tutorial, we will containerize the PostgreSQL database and deploy using Docker. This avoids adding packages to your host machine and helps to isolate your database from the other parts of your stack. Make sure you’ve got Docker installed before you continue.
In this article, we will do:
- Setting up the PostgreSQL database instance running on your local machine by using Docker.
- Configuring and run the PostgreSQL container.
- Interacting with the Postgres database from within the running container.
- Creating the Docker network to connect and wire multiple containers to work together.
- Setting up the PostgreSQL database management tool with pgAdmin using Docker.
Getting Started
Setup
First up, we need to download the Docker postgres image. You can use the following command to pull the latest image from Docker Hub. Note that I’m gonna use the latest version of PostgreSQL. You can choose any version that suits you best.
$ docker pull postgres
Check whether it is pulled successfully via.
$ docker images
This will list all current available Docker images from your local machine.
Now we need to run the PostgreSQL container from the image we pulled above. Start a PostgreSQL container using the docker run command:
$ docker run \
    --name <your_container_name> \
    -p 5432:5432 \
    -e POSTGRES_USER=<your_postgres_user> \
    -e POSTGRES_PASSWORD=<your_postgres_user_password> \
    -v postgres:/var/lib/postgresql/data \
    -d postgres
Here are a few explanations for the command above:
-
--name: This tag assigns a name to the container, which can be used to identify and reference it later. -
-p: This tag maps a port on the host machine (the first number) to a port on the container (the second number). In this case, it maps port 5432 on both sides, which is the default port for PostgreSQL. -
-e: This tag sets an environment variable for the container, which in this case is the password for the default PostgreSQL user and password. -
-v: This tag mounts a volume to the container. A volume is a persistent storage that can survive container restarts and deletions. In this case, it mounts a volume named postgres (which will be created if it does not exist) to the directory. -
-d: This tag runs the container in detached mode, which means it runs in the background and does not block your terminal.
After running the container, you should see the container named <your_container_name> from currently running container list.
$ docker ps
Or if we want carefully observe the detailed logs inside the running container.
$ docker logs <your_container_name> -f
-f: This is the following log output option. you can view more command options bydocker logs --help.
Test the database connection
As PostgreSQL was bound to port 5432 above, you now should be able to connect to the database via localhost:5432 from any compatible client. When connect to it remember to use the same credentials (E.g., POSTGRES_USER=<your_postgres_user> and POSTGRES_PASSWORD=<your_postgres_user_password>) you assigned to environment variables when starting the container.
The Docker image also includes the psql binary which you can invoke with docker exec. Use this to quickly interact with your database from a PostgreSQL shell within the container.
$ docker exec -it <your_container_name> psql -U <your_postgres_user>
If the command above executed successfully, you most likely will see something like following (the postgres version, environment info will depend on your system).
psql (15.1 (Debian 15.1-1.pgdg110+1))
Type "help" for help.

<your_postgres_user>=#
Here are some commonly used commands to interact with your postgres database.
- list all the current databases
<your_postgres_user>=# \l
- Create a new database
<your_postgres_user>=# create database <database_name>;
- Enter inside the a particular database
<your_postgres_user>=# \c <database_name>
- show all current tables within the database
<your_current_database>=# \dt
- describe a particular table
<your_current_database>=# \d <table_name>
- list all current schemas
<your_current_database>=# \dn
- After entered inside a particular database, if you want to back to previous position, for example,
your_postgres_userlocation
<your_current_database>=# \c <your_postgres_user>
- Finally, quit the current database session
<your_postgres_user>=# \q
Working with Postgres UI management tool
Assuming you are a UI person, and you want to interact with the database via UI application such pgAdmin…? Oke let’s setup the pgAdmin to use it with PostgreSQL database locally.
Just like the process we have done above, we first need to pull its image from DockerHub. Here I’m going to to use the dpage/pgadmin14.
$ docker pull dpage/pgadmin4
Create a separate network for Postgres and pgAdmin containers, so that they can interact with each other.
$ docker network create <network_name>
Verify whether network was created successfully.
$ docker network ls
Connect the currently running Postgres container with the network.
$ docker network connect <network_name> <your_postgres_container>
Ok, now we need to run the pgAdmin container.
docker run --name local-pgadmin \
           -p 5050:5050 \
           -e "PGADMIN_LISTEN_PORT=5050" \
           -e "PGADMIN_DEFAULT_EMAIL=<your_email>" \
           -e "PGADMIN_DEFAULT_PASSWORD=<your_password>" \
           -e "PGADMIN_SERVER_BIND_ADDRESS=0.0.0.0" \
           --network <network_name> \
           --link <your_postgres_container_name> \
           -d dpage/pgadmin4
It looks complicated a bit right? OK, here are the explanation:
--network: This is used to specify which network a container should join when it is created or run.--link: The is used to create a link between two containers on the same network. This allows the containers to communicate using only their names or aliases instead of their IP addresses.
After connecting and wiring two containers into the same network, we must verify the network detailed information.
$ docker network inspect <network_name>
You should see there is a Containers property with two container values, one is the Postgres and the other one is the pgAdmin container inside it like following.
{
  "Name": <network_name>,
  ...,
  ...,
  "Containers": {
    "2d3154c33c6b3658f418c2d8accecd75d286371c073ec3c53e6873d4a54ff238": {
        "Name": "<your_postgres_container>",
        "EndpointID": "583f37d139a6818e5df7e1ddbfa352665ba02b0d7ab283385a08488b14dac234",
        "MacAddress": "02:42:ac:13:00:02",
        "IPv4Address": "172.1x.x.x/16",
        "IPv6Address": ""
    },
    "5a0522404f314fe53a67a14bc139e2adfc6f95ee7998ce9f9f1ece8345fb9a24": {
        "Name": "<your_pgadmin_container>",
        "EndpointID": "3115f5872869e6e7a8c15c86325fb430ce25ac3b0b94f1a1ec1df0f679503371",
        "MacAddress": "02:42:ac:13:00:03",
        "IPv4Address": "172.1x.x.x/16",
        "IPv6Address": ""
      }
  },
}
You might feel this setup is a bit complicated… then you are right! There is another setup choice that much simpler than this one, which is Docker Compose. However, by doing this way, you have a chance to work with the lower layers such Docker networking, how to connect and make multiple containers interact with each other in a same network, etc.
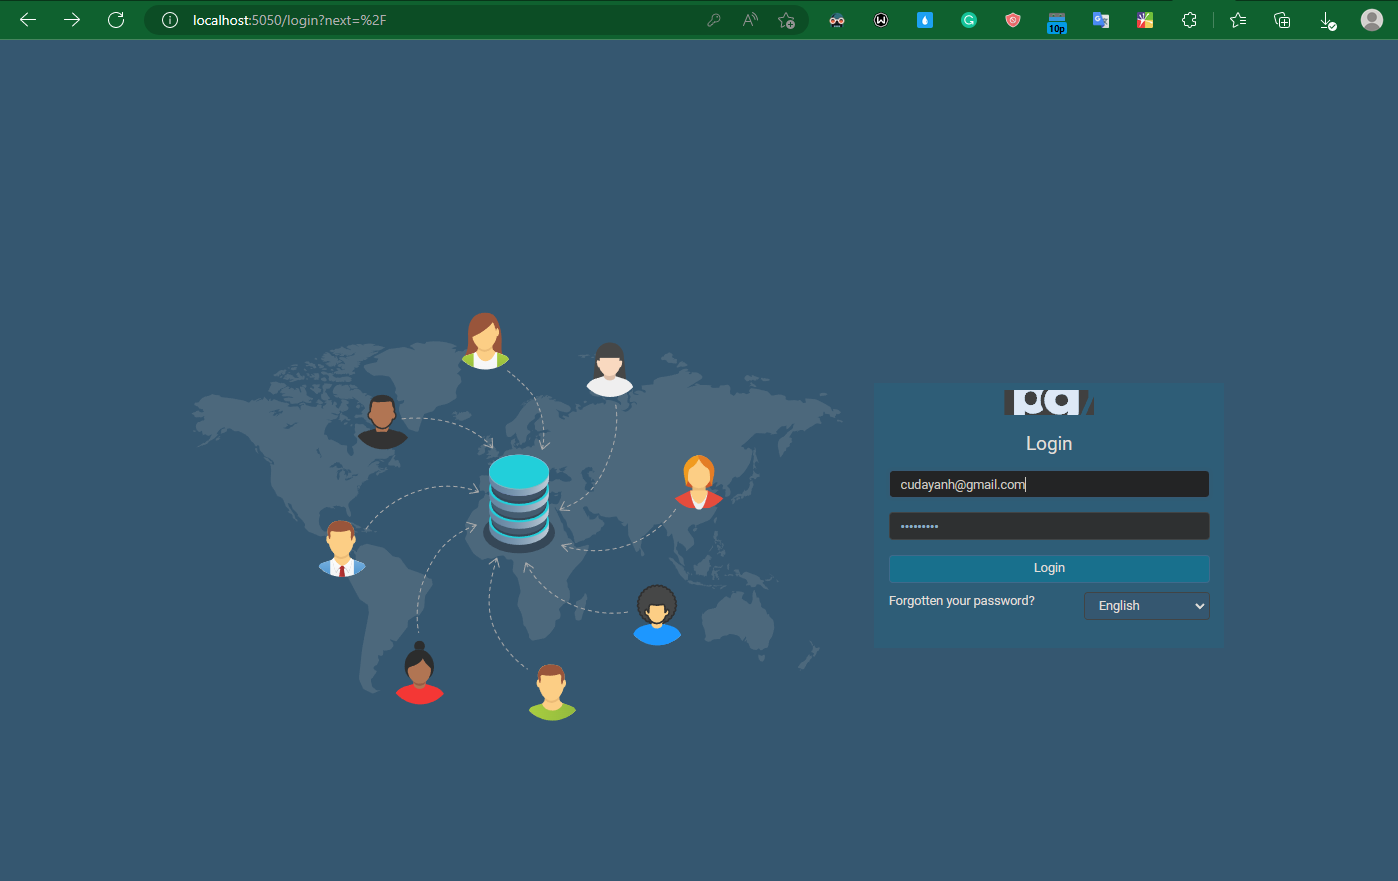
If the process goes well, you will able to access to the pgAdmin browser via the localhost:5050 and see the login page like following.
And after logging in (remember to use "PGADMIN_DEFAULT_EMAIL=<your_email> and "PGADMIN_DEFAULT_PASSWORD=<your_password>) successfully, you will be redirected to the pgAdmin dashboard.

Connecting PostgreSQL container with pgAdmin container server. Now, we really want to test out the Postgres Docker container we’ve already made in the above steps right? Let’s do it, from the pgAdmin dashboard, right-click on the tab Servers on the top-left and continually click on the Register, and Server sections.

Enter connection information. After finishing the above step, there is a form will be displayed for you to provide the connection information for Host name/address, and password. Just click the Connection tab and provide the corresponding connection information.

Here ara a few notes about the required connection information:
Host name/address: This is the host name you use to access the service running on our host machine, in this case, the service is the Docker containers. As you know, in the above steps, we wired and connected both Postgres and pgAdmin containers in the same network. So now you can just enter the Postgres Docker container name you defined for it in the running container command above (--name <your_container_name>).
There is another option which is
host.docker.internalfor this field to connect and access Postgres container. To briefly explain, thehost.docker.internalwas introduced in Docker version 17, is a hostname that can be used to access services running on your host machine from within a Docker container. To find out why in details on this one, you can refer to the Stackoverflow answer.
-
Port: This is just the container port variable you assigned to it when running the container itself, which is 5432. -
Username,Password: These two variables ofPOSTGRES_USER, andPOSTGRES_PASSWORDfrom the Postgres instance you assigned to it.
If things go well, you will see the dashboard of the database like following:

Now, the rest is depending on you. Have fun with it 😊.
Conclusion
That’s all!! Through this article, you can see several benefits of containerization that simplifies the setting up process to boost and helps our development quickly spin up in all aspects such portability, the containers can run consistently on any infrastructure, resource-efficiency, containers only package the necessary libraries and dependencies for the code, and scalability, it can be easily added and updated to meet changing demands.
PostgreSQL was considered a not good choice when compared to another SQL-based engines. However, it’s getting better and… better to become the one of the best and most-loved one right now. It was long a bit, but I hope you found something helpful.